How to Change Spark Plugs (Step-by-Step)
Spark plugs may be simple to replace or annoyingly difficult. It all depends on how many covers, hoses, wire harnesses and other miscellaneous parts you must either move or remove to gain access to the plugs.
And if the engine is jammed into a tiny space, that can make getting to the plugs even more difficult. In spite of this, spark plugs inevitably need to be replaced. This guide will go over the general step-by-step process of spark plug replacement including everything you’ll need.

Why Replace Spark Plugs?
The primary reason for replacement is this: Your car has reached the spark plug replacement interval recommended by the manufacturer. You should be able to find this information in your owner’s manual.
On most cars today, the manufacturer requires plug replacement at around 100,000 miles, but it may be less for your car, so the owner’s manual should be your guide.
That said, this is stunning endurance considering not too many years back, plug replacement occurred as often as every 12,000 to 15,000 miles.
The second reason is that your car is acting up, and after some diagnostic homework, the spark plugs appear to be the culprits. Rough running, misfiring, difficulty starting and/or an OBD II diagnostic code may direct you to the need for new spark plugs.
In general, any spark plug replacement job will require all the plugs be replaced. Some engines will have one plug per cylinder, but there are cars on the road today running two spark plugs per cylinder. If you are unsure of this, your dealer or parts store guy or gal can tell you how many you will need.
Related: 9 Different Spark Plug Conditions (and What They Look Like)
How Hard is It to Replace Spark Plugs?
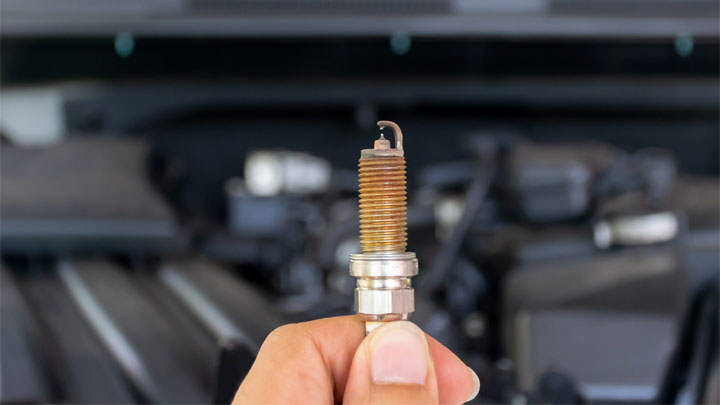
For the experienced DIY mechanic, any car’s plugs can be replaced. For the newcomer to automotive repair work, plug replacement may be a daunting task and here’s why.
For most of today’s engine layouts, two problems may loom:
- The top of the engine and the plugs may be hidden beneath one or more covers, heat shield(s), numerous hoses, tied down wiring bundles, and underhood support structure.
- If the engine is cross-mounted and, in particular a V6, the rear cylinder head may be tucked against the firewall making the plugs almost impossible to see.
For these situations, replacing the plugs must be preceded by relocating or removing the things that are in the way. And you may have to include the need to reach into a narrow space between the engine and firewall to access the plugs hidden there.
These steps can be the daunting part of the task. Not impossible, but worthy of consideration. You need to ask yourself, “Do I really want this challenge?”
Tools You’ll Need
This is a recommended tool list for a spark plug job. A good mechanic’s tool set will include some of these.
- 3/8″ drive ratchet
- 3/8″ drive spark plug socket (5/8″, 13/16″, and 18 mm are the most common spark plug socket sizes)
- 3/8″ drive extension(s)
- 3/8″ drive universal joint
- 10mm combination wrench
- Spark plug boot puller
- Spark plug gap gauge
- 3/8″ drive torque wrench
- Tube of silicone dielectric grease
- Package of black nylon wire ties (8″ long)
- A clean coffee can for nuts, bolts and related small parts that come off during the job
- An old 1/2″ wide paint brush
- Package of cotton swabs
- Shop vacuum with a slender crevice tool
- Shop manual for your specific car
Once you get into the job, you may find the need for an additional tool or two. For example, your engine may need a longer 3/8″ drive extension to enable access to deeper set plugs. And a 3/8″ drive flex handle, 12″ in length, can sometimes be very helpful for initially loosening the plugs.
See Also: 4 Types of Spark Plugs
Spark Plug Replacement Procedure
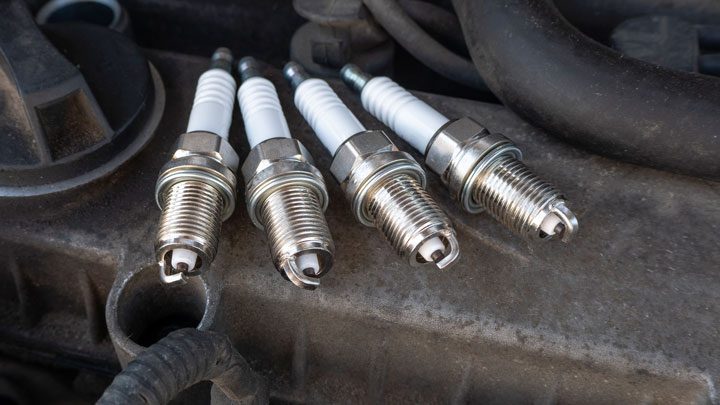
Pre-Project
Before you begin, have all the required tools and supplies readily at hand. Don’t forget to buy that new set of spark plugs. Unless your budget is really tight, don’t go cheap. High quality spark plugs will perform well for more miles than the inexpensive ones.
Ask the parts sales person for the recommended gap and installation torque for the plugs. This info can also be found in your shop manual.
Over the course of this job, it will help to remove each plug and then immediately replace it with a new plug, one plug at a time. Apply the proper tightening torque and reconnect the plug wire. This way, each open plug hole will be quickly closed helping to minimize the risk of dropping some small part or dirt down inside the engine.
This procedure also helps you avoid reconnecting plug wires to the wrong plugs. Making this mistake can be unnerving when you next start the engine.
From your shop manual, find the torque value for tightening the plugs and set the torque wrench accordingly. A bending beam type of torque wrench will not require pre-setting of the torque value.
#1 – Adjust Spark Plug Gap
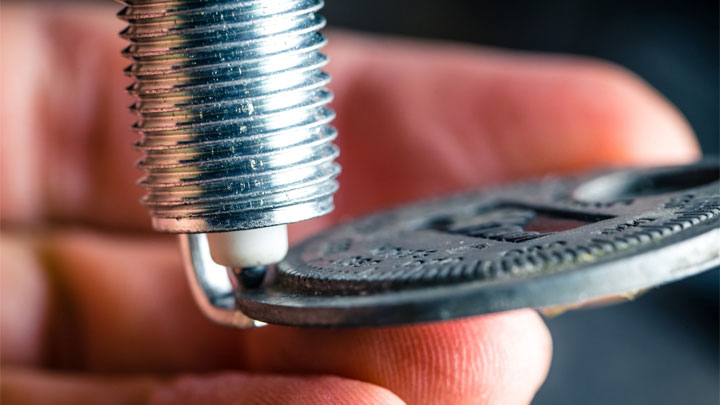
Open the spark plug packages, and check the gap for each plug with the gap gauge. Using the gauge thickness closest to the required measurement, pull the wire through the plug gap.
If the gap equals the wire diameter, the gauge will pull through with a small amount of resistance. The preset gap right out of the package should be very close to the required measurement.
Adjust the gap as needed by bending the side electrode. Bending the electrode more than about .010″ is not advised. Set all the plugs in this fashion.
#2 – Disconnect Battery
Park the car in a well lit location. Open the hood. Take several good photos of the underhood area. These can help you get any parts removed back in the correct locations later in the job. This is a good habit to get into no matter if you’re changing spark plugs, brake pads, or disconnecting home electronics for an upcoming move.
For safety, disconnect the positive terminal to the battery. Use the 10 mm wrench or ratchet wrench for this task. The positive connection will be marked with a “+” on the battery, and the cable will be red in color. Pull this cable to one side so it won’t try to snap back to its connected position.
#3 – Locate Spark Plugs
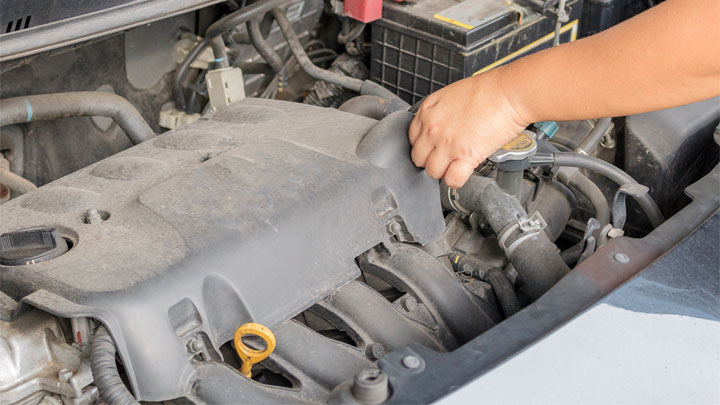
Assess the best way to gain good working access to every plug location. Note what must be relocated and what can simply be pushed out of the way. This is where a good shop manual is invaluable (especially for beginners).
#4 – Gain Access to Spark Plugs
Begin the process of relocating and/or removing components to give you necessary access. If large parts are removed sequentially, lay them out on your workbench or on your shop floor in order of removal. It will help when putting those parts back to know the sequence needed for reinstallation.
Fasteners can be screwed back into their respective locations or just dropped into the coffee can. Do not disconnect any hoses held in place by spring or worm screw clamps. These are cooling or heater hoses.
Disconnecting any of them will result in an annoying antifreeze spill. Such hoses should be able to be pushed aside to provide working clearance.
#5 – Remove Plug Wire
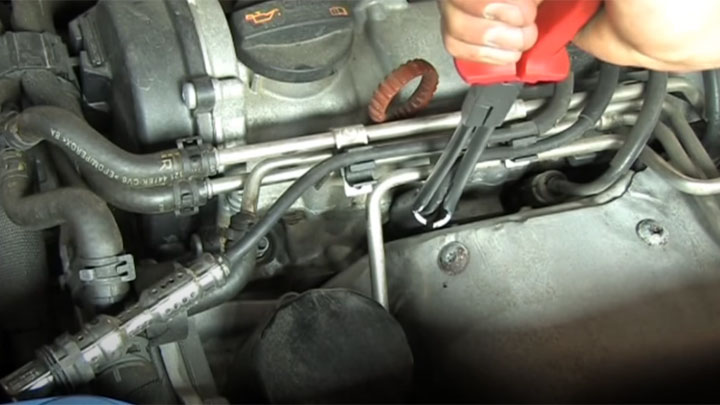
Pick a place to begin and remove the first plug wire. Use the spark plug boot puller. Firmly grasp the spark plug boot with the puller and twist side-to-side while lifting up.
Related: 4 Symptoms of Faulty Spark Plug Wires
#6 – Remove Dirt From Plug Base
Using the paint brush, loosen any dirt and debris around the base of the plug. Pick this up using the Shop Vac crevice tool. You don’t want loose dirt and dead bugs dropping into that open spark plug hole.
#7 – Remove Spark Plug
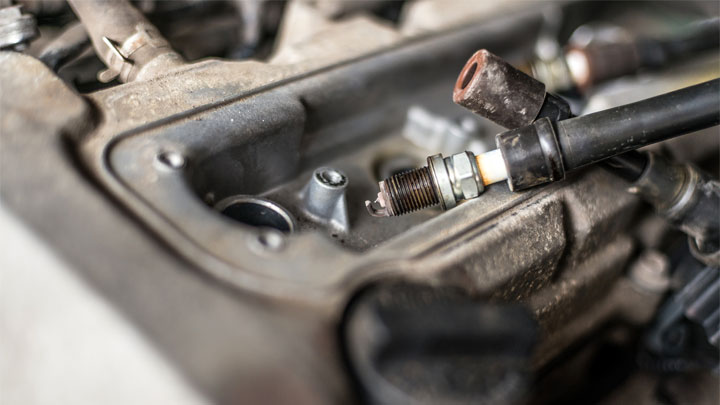
Using the ratchet and correct size spark plug socket, remove the first plug. Use the Shop Vac nozzle again to clean away any remaining dirt around the plug opening.
See Also: Why Did My Spark Plug Blow Out While Driving?
#8 – Install New Spark Plug
Using the same tools, install the new properly gapped plug. Using your torque wrench, tighten the plug to the required torque value.
#9 – Clean and Grease Boot
Using a cotton swab, clean the inside of the rubber spark plug boot. Using a second clean swab apply a light coating of silicone dielectric grease to the inside diameter of the boot. Press the boot firmly onto the spark plug.
When reinstalling the spark plug boot, make sure the plug wire is routed just as it was prior to its removal. Generally the plug wires will “want” to go right back into the original positions, but you should confirm it is right before moving on. This can be where the photos you took earlier will prove helpful.
#10 – Repeat
Repeat Steps #5 through #9 for the remaining spark plugs.
#11 – Put Components Back Into Place
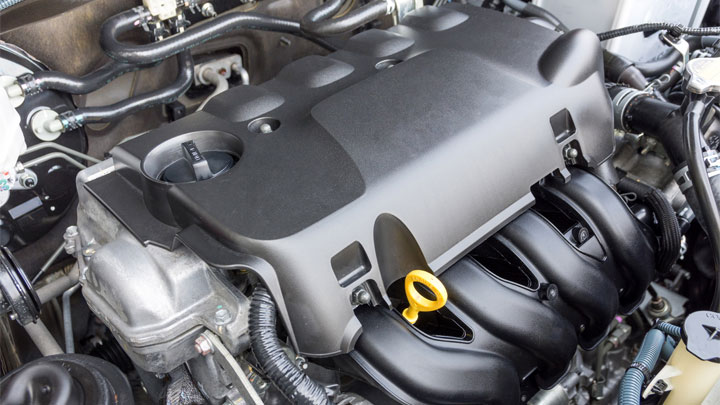
Now relocate any moved hoses and/or wire bundles to their original locations. Reconnect anything that was disconnected back in Step #4. Reinstall the small parts that were removed. Use new nylon wire ties to secure any hoses or wires where the original ties had been removed.
Make absolutely certain that no hoses or wires now contact any moving parts (like belts or pulleys) or surfaces that will get hot such as the exhaust manifolds. Any contact issues should be corrected now. With this step, almost everything should be reinstalled just as it was when you began Step #4.
#12 – Re-Connect Battery and Start the Vehicle
Before replacing any decorative covers and heat shields, now is the time to start the car. Reconnect the battery cable and tighten it snugly. Once started, the engine should run smoothly. Allow it to idle for a minute or two then shut it down.
The last thing to do is reinstall the decorative covers and heat shields removed earlier. Game over. Enjoy your new spark plugs.
- DIY Car Repair Tools – Floor Jack and Jack Stands - Dec 12, 2023
- DIY Car Repair Tools – Socket (Ratchet) Wrench - Nov 9, 2023
- DIY Car Repair Tools – Torque Wrench - Apr 20, 2023
