How to Use a Floor Jack Like a Pro (Step-by-Step)
From changing a vehicle’s oil to swapping out brake pads, there’s a certain amount of equipment you want at your disposal. One of the most important is the hydraulic floor jack.
Improper floor jack use unfortunately happens way too often, resulting in costly property damage, severe injury, or worse. If you want to be sure you’re using your floor jack correctly, keep reading.
Identifying Jack Points on a Car
One of the most vital points of proper jack use is identifying a particular vehicle’s jack points (or lift points).
The term “jack points” refers to points along a vehicle’s undercarriage that are structurally sound enough to be load-bearing in nature. Simply put, a vehicle should never be lifted by any point not specified by its manufacturer as a recommended jack point.
While certain jack points are largely universal from one particular vehicle to the next, one should always heed to manufacturer recommendations.
Most owner’s manuals include a short segment on jacking a vehicle and provide specific jack points for reference. Therefore, it is quite important to keep track of your vehicle’s owner’s manual, as it should provide any basic info that is required.
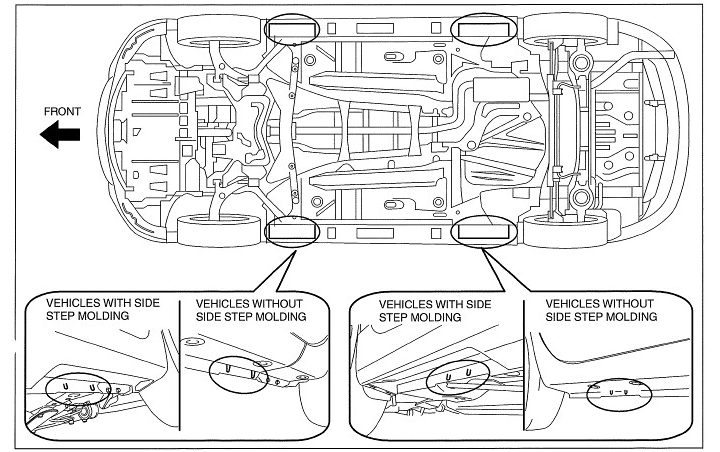
In most cases, a car can be jacked up by its pinch welds, or frame rails. However, the latter of these two options is generally ideal, due to the fact that rusted or otherwise compromised pinch welds provide less than satisfactory support.
Therefore, unless otherwise stated by factory-specific service literature, one should strive to lift their vehicle only by its frame rails whenever possible.
Likewise, trucks and SUVs should be jacked up along their frame rails, in close proximity to the wheel end location that must be raised. Unlike the typical passenger car, most trucks and SUVs do not feature pinch welds that double as suitable alternative lift points.
As always, one should consult their vehicle’s owner’s manual, before jacking up their truck or SUV.
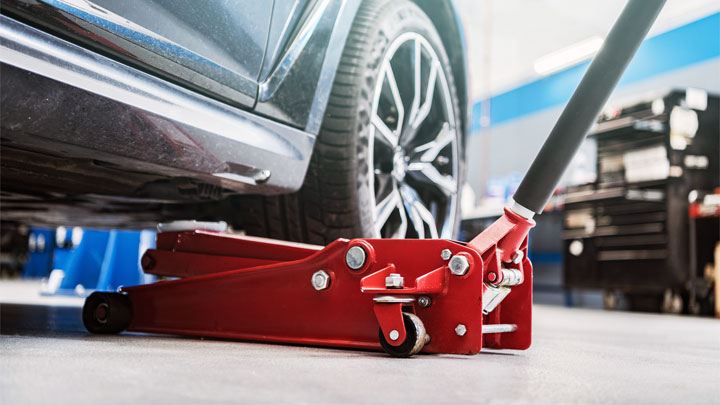
How to Use a Hydraulic Floor Jack
What You’ll Need
Floor Jack
- Recommended for DIY Use: Arcan 3-Ton Aluminum
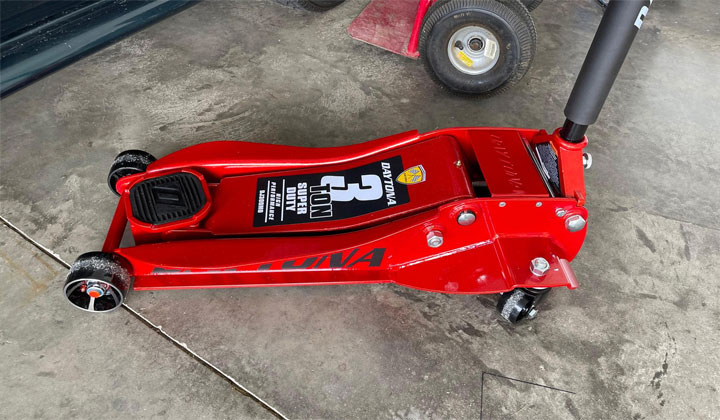
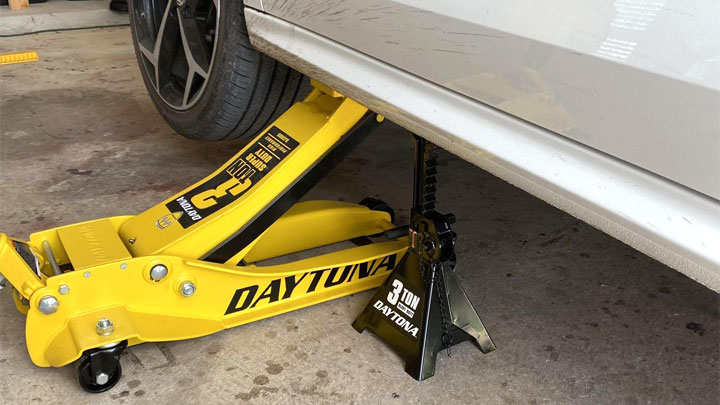
- Recommended for Professional Use: Harbor Freight 3-Ton Daytona
Saddle Pad or Adapter (optional)
- Recommended: Rubber jack pad or pinch weld adapter
Jack Stands (if working under car)
- Recommended for DIY Use: Torin Big Red
- Recommended for Professional Use: ESCO 10498
Wheel Chocks
- Recommended: MaxxHaul 70472
Step #1 – Position Vehicle
The first step to successfully jacking up any vehicle is positioning a vehicle in a suitable place for such efforts. Make sure to park your vehicle on a flat, firm surface, avoiding unlevel or soft ground at all costs.
Doing so ensures that you have a firm foundation for lifting.
Step #2 – Set Emergency Brake

Before proceeding, be sure to set your vehicle’s Emergency brake. This, of course, is assuming that you will be lifting the front end of your vehicle.
Setting your emergency brake in this manner lessens the chance of your vehicle inadvertently rolling or shifting during the jacking process.
Related: 3 Causes of a Stuck Emergency Brake
Step #3 – Position Wheel Chocks

Next, position a set of wheel chocks behind the tires that will remain in contact with the ground. Think of the direction the vehicle would roll If you are jacking up the front of the vehicle, place the chocks behind the rear tires. If you are jacking up the rear of the vehicle, place the chocks in front of the front tires.
For added security, these chocks can be lightly tamped in place using a rubber deadbolt, wedging them between the tread of the tire, and the ground itself. Like applying the emergency brake, this also prevents your vehicle from shifting while being raised.
Step #4 – Assess Lift Point
Before maneuvering your floor jack into place, carefully assess your vehicle’s lift points. If you are unsure of these lift points, stop and consult your vehicle’s owner’s manual.
The type of jack that you choose to use (scissor jack, bottle jack, etc.) might also impact your selection in jack points.
Step #5 – Carefully Position Jack
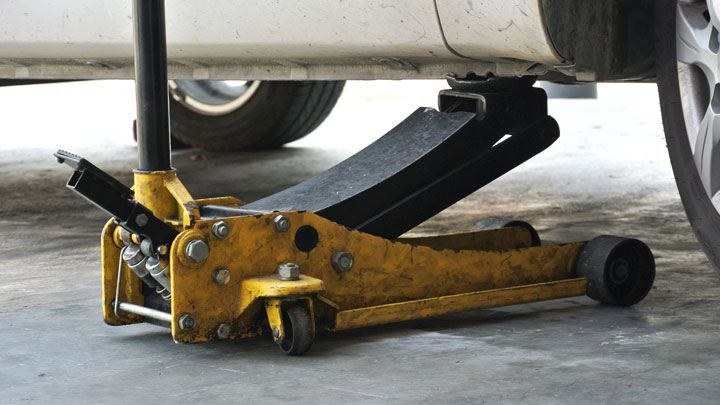
After confirming your vehicle’s jack points, maneuver your jack of choice into place. Now is the time to install any additional rigging (saddle pad, adapter, etc), before actual lifting commences.
Once all is in place to your liking, begin slowly raising the jack, until it makes slight contact with your vehicle’s lifting points.
Step #6 – Raise Vehicle
You will now slowly raise your vehicle to the desired height. Do not make any sudden or jolting movements while doing so, as this can risk jack slippage.
Carefully assess your vehicle’s stability during the jacking process. If at any time you become unsure of the situation at hand, slowly lower your vehicle back to ground level.
Step #7 – Place Jack Stands
Upon reaching the desired height, place the jack stands beneath the frame of your vehicle. Ensure that these stands are set evenly on the ground without any wobble.
Slowly lower your vehicle onto the newly applied jack stands, while checking for any signs of unsteadiness. Upon seating your vehicle on your jack stands, raise the floor jack back into place, taking up only slight pressure.
Lightly nudge your vehicle by hand to ensure stability, before crawling beneath to begin work.
See Also: How to Remove a Stuck Lug Nut
Step #8 – When Finished, Raise Vehicle Slightly
Upon finishing all work, raise your vehicle slightly above the height of your jack stands. While doing so, carefully check for any concerning lack of stability. Make sure that the vehicle itself is resting approximately 1″ above the height of any jack stands.
Step #9 – Remove Jack Stands
You will now remove any jack stands from beneath your vehicle. Ensure that these jack stands are removed in their entirety, and are free from the vehicle’s perimeter. Additionally, check to ensure that no other obstructions have been left beneath the vehicle.
Step #10 – Lower Vehicle
You will now slowly lower your vehicle using your previously positioned floor jack. Lower your vehicle until it is safely on the ground, and your jack is completely free of the vehicle’s undercarriage.
Slide the jack from beneath your vehicle, and remove all chocks from beneath your vehicle’s wheels. If you set your vehicle’s emergency brake prior to lifting, make sure to disengage it before embarking on your next commute.
Additional Tips For Jacking Up Your Vehicle

The following are several additional tips to consider, prior to jacking up your car, truck, or SUV.
Safety First
DO NOT crawl underneath a vehicle that is not additionally supported by a set of jack stands. Jack stands secure a vehicle in place, should a floor jack fail, or the jack’s load shift. This, in turn, prevents severe injury or death.
For a simple wheel change or replacing brake pads (one wheel at at time) where you won’t be underneath the vehicle, placing a wheel next to the floor jack will also work in place of a jack stand as an insurance policy. But, jack stands are always the better option.
Give a Test Bump
After you have jacked your vehicle up to the desired height, give it a slight bump by pushing against the vehicle’s exterior body panels. This ensures that the load itself is not in the process of shifting before you lean beneath the vehicle to set up your jack stands.
Periodically Inspect Equipment
The condition of both your floor jack and jack stands is extremely important to your overall safety when working on a vehicle. For this reason, it is imperative to carefully inspect all equipment of this type before attempting to lift any vehicle.
If anything appears amiss, discontinue use immediately.
Get a Second Opinion
If you ever find yourself questioning the position of your jack, stop at once. Consult a mechanically savvy friend or family member for a second opinion.
There is no shame whatsoever in asking for assistance in such situations, as doing so might prevent severe injury or death.

- P0480 Code (Symptoms, Causes, and How to Fix) - Apr 19, 2024
- Car Temperature Gauge Stopped Working? (Here’s Why) - Apr 15, 2024
- Ignition Coil vs Coil Pack (What’s the Difference?) - Apr 8, 2024