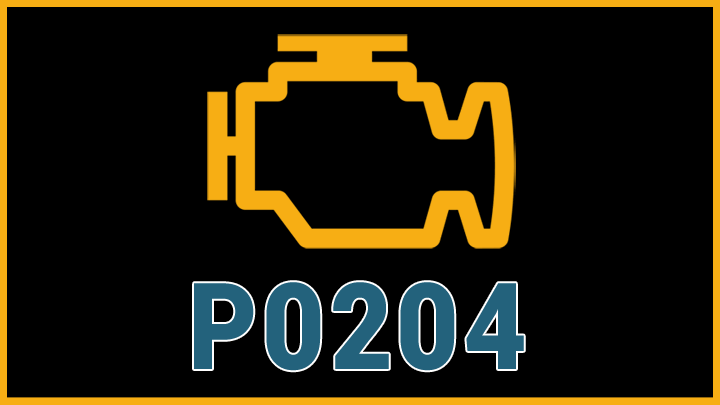
P0204 Code (Symptoms, Causes, and How to Fix)
Have you recently noticed a decline in your vehicle’s performance, accompanied by the sudden illumination of a mysterious check engine light? If so, then DTC P0204, or any other number of fuel injection related faults might be to blame.
While such faults might be worrisome to contend with, most end up being rather simple to address. Read on to learn more about diagnosing and repairing fuel injection fault codes such as P0204.
What Does Code P0204 Mean?
Diagnostic fault code P0204 is indicative of an open on otherwise non-responsive circuit associated with an engine’s #4 fuel injector.
Simply put, a vehicle’s ECM/PCM has determined that the engine’s #4 fuel injector is not firing as called for. This is determined through the monitoring of various forms of feedback, most notably including recorded voltage/amperage draw across the affected circuit.
To better illustrate this point, you must fully understand the manner in which this type of injector-related feedback is monitored.
Today’s modern fuel injected engines facilitate injector solenoid activation through the corresponding circuitry, which relays a call-to-fire under precise timing. The timing of such injection events is determined through ECM/PCM monitoring of various timing-related sensors, such as the camshaft position sensor and crankshaft position sensor.
When an injector is called to fire, a vehicle’s ECM/PCM expects to see voltage on the associated circuit drop to nearly zero, before rebounding to full battery voltage in a near instantaneous fashion. When a vehicle’s ECM does not see this response, an injector/injector fault is logged.
In this case, DTC P0204 is logged, signifying this lack of response has been recorded in relation to the #4 injector circuit.
Related: P0201 Code (Injector #1), P0203 Code (Injector #3)
Symptoms of Code P0204
Diagnostic fault code P0204 is often accompanied by a host of secondary symptoms, some of which tend to be more noticeable than others. The ability to recognize these symptoms can prove invaluable when attempting to quickly diagnose the issue at hand.
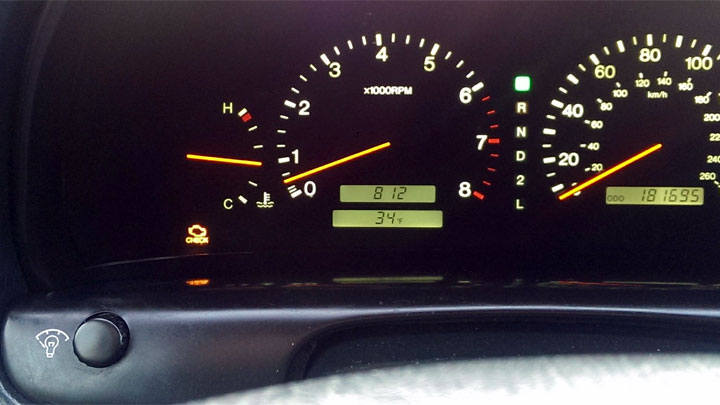
- Illuminated check engine light
- Erratic idle
- Hesitation under load
- Noticeable misfires
- Reduced fuel economy
Causes of Code P0204
Diagnostic fault code P0204 can be caused by one of several different underlying issues, some of which can be more difficult to pinpoint than others. Those familiar with these potential causes are generally able to go through the diagnostic process quicker.
The following are several of the most common causes of DTC P0204.
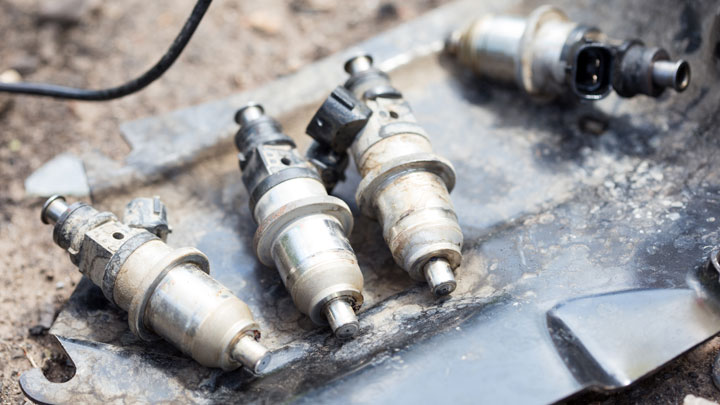
- Faulty fuel injector
- Compromised fuel injector circuit
- Failed PCM
Is Code P0204 Serious?
Generally speaking, diagnostic fault code P0204 is recognized as being of moderate severity. While this code will not typically prevent a vehicle from being driven, it is often accompanied by a host of driveability-related symptoms, several of which can be quite troubling to contend with.
It also is worth noting that there is a chance of incurring additional engine damage, if you continue driving your vehicle in this manner.
When an injector fails to fire repeatedly on a given cylinder, an imbalance is created and transferred to either engine’s bottom end, thereby causing uneven component wear. Additionally, leaking injectors can do significant damage to downstream catalysts.
If a P0204 diagnostic trouble code appears for your vehicle, you should make diagnosing and fixing the underlying problem a top priority. Putting it off risks causing secondary damage, which could lead to expensive repairs down the road.
Even if you’re comfortable doing some automotive work yourself, a tricky issue like this may warrant bringing the vehicle to a trusted mechanic right away. It’s best to nip problems in the bud before they snowball into bigger, costlier headaches.
How to Fix Code P0204
The following steps can be used to assist you in diagnosing the cause of your vehicle’s recently recorded failure. Be sure to consult the factory service manual for the specific make and model of your vehicle. These manuals provide tailored diagnostic and repair procedures.
#1 – Check For Additional Fault Codes
Before beginning the diagnostic process, check for the presence of any additional diagnostic fault codes. Any such codes that are found should be carefully evaluated before proceeding.
#2 – Study Freeze Frame Date
One should begin the diagnostic process by studying the freeze frame data associated with the fault in question. In many cases, one can identify a pattern or set of circumstances that is associated with the fault code logged.
This can prove helpful when attempting to replicate the concern previously logged.
#3 – Verify Resistance of Injector Solenoid
With the use of a quality multimeter, check resistance across the affected injector’s coil or solenoid. This resistance reading should be compared to that specified by your vehicle’s manufacturer.
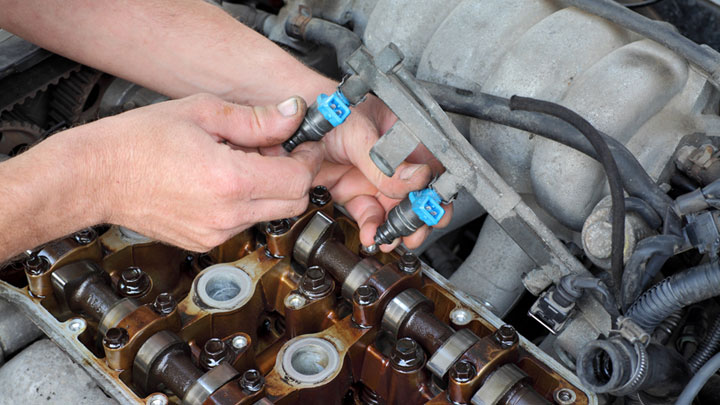
If this reading is found to be out of range, the injector in question must be replaced.
#4 – Confirm 10-12v Feed at Injector
Using the same multimeter, check to ensure that a 10-12v feed is supplied to the suspect injector. If it is not, further electrical diagnosis will be required to qualify the related electrical circuit.
The type of troubleshooting required will differ from one make and model of vehicle to the next, as it will be used to qualify the vehicle’s ECM/PCM circuit.
#5 – Person Thorough Visual Inspection
Next, carefully inspect the affected injector and its related wiring for signs of damage. Make sure that all wiring is free of pinch-type damage, and corrosion.
Also verify that the corresponding connector is tight and free of damaged pins or corrosion. Any damage found should be carefully repaired before proceeding.
#6 – Qualify Driver Circuit
Finally, if all other tests prove inconclusive, one will be required to qualify the injector driver circuit. This can be done in one of several different ways, with some manufacturers preferring one particular testing measure over others.
A noid light is commonly used for such testing, as is a bi-directional scan tool. The latter of these methods involves commanding actuation of the affected injector while monitoring voltage drop. The failure of any of these tests will signify the need for injector replacement.

- P06dd Code (Symptoms, Causes, and How to Fix) - May 3, 2024
- 5 Symptoms of an EVAP Leak (and Repair Cost) - Apr 27, 2024
- P0480 Code (Symptoms, Causes, and How to Fix) - Apr 19, 2024