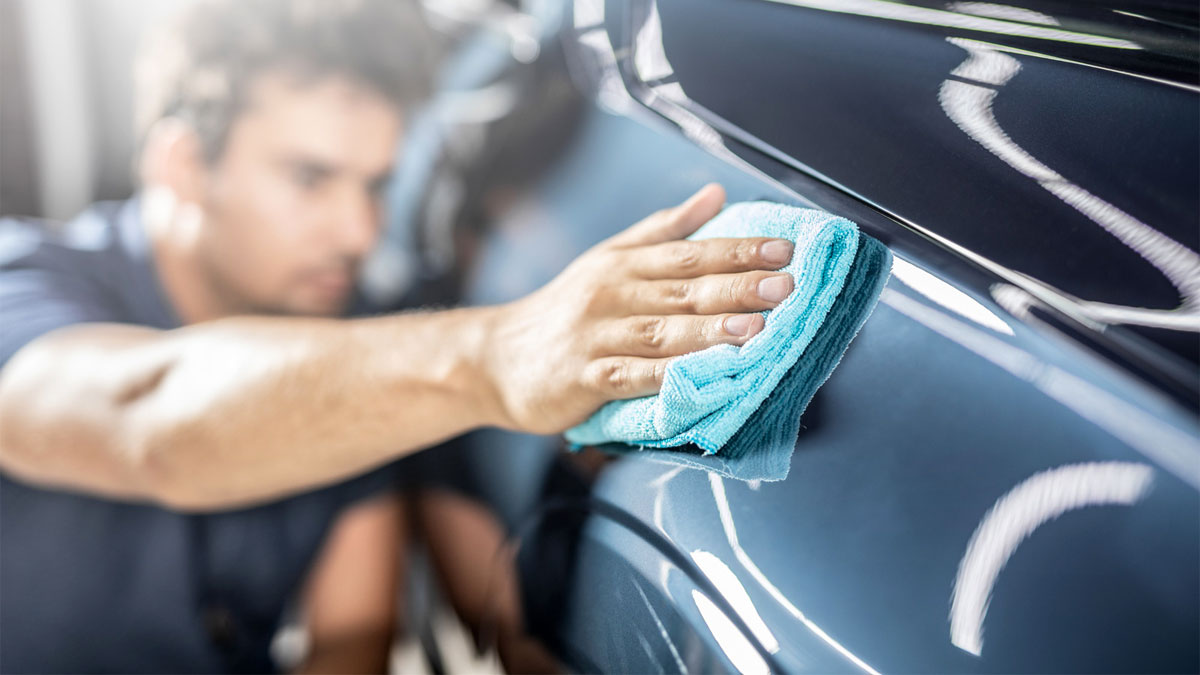
How to PROPERLY Detail a Car Exterior
A clean, detailed car makes a great first impression. While professional detailers will get you there, they are EXPENSIVE and simply don’t care as much about your vehicle as you do.
So why not do it yourself? With today’s user-friendly products and a few free weekend hours, you can make your car look showroom-new. Here’s a detailed [pun intended] “how-to” including the exact products you’ll need.
Related: How Long Does PPF Last on a Car?
How to Detail a Car Exterior
Step #1 – Gather Your Supplies
If you want to successfully detail your car, the first step is to gather all the supplies that you’ll need.
The quality of these products often dictates the safety and effectiveness of your detailing job. Simply buying whatever detailing products are on sale is not a good idea.
Pay a little more for high-quality supplies. They usually require less grunt work and the results are more noticeable. You’re not looking for professional grade, but definitely something better than the cheap brands.
To make it easier, I’ve listed some of my favorite products below (and I’ve tried A LOT over the years). Feel free to disagree in the comments below but I ask that you also note what YOU feel is the best detailing product for the money.
Here’s what you’ll need:
- Two buckets (Home Depot or Lowe’s work fine; bucket w/ grit guard is best)
- Car wash soap (either Chemical Guys Citrus Wash or Meguiar’s Gold Class)
- Car wash mitt (Ultimate Car Wash Mitt)
- Wheel cleaner (Sonax)
- Wheel brush or mitt/sponge (Speed Master Wheel Brush or Ultimate Car Wash Mitt)
- Clay bar (Mothers 07240 Clay Bar System)
- Car buffer/polisher
- Auto polish (if necessary). Use either:
- For very minor scratches/swirls – Meguiar’s M205 Mirror Glaze
- For minor scratches/swirls/stains – Meguiar’s G17216 Ultimate Compound
- For more serious (not deep) scratches, stains, and oxidization – Mequiar’s M105 followed by Meguiar’s M205
- Car wax (Chemical Guys Butter Wet Wax or Meguiar’s Ultimate Liquid Wax)
- Microfiber towels (Chemical Guys microfiber towels)
- Applicator pads (Viking 862400 Blue)
Step #2 – Wash Wheels and Tires
Most experts recommend that you tackle the wheels and tires first because the worst dirt and grime comes from driving through mud, sleet and other bad road conditions, and you don’t want to spread that crud to other areas of your vehicle.
That said, it’s perfectly fine to wash your car first and do the wheels after. You just need to remember to keep the exterior wet or you will get water spots before you even fishing washing the wheels and tires.
- Start by spraying down the entire car with a nozzle hose to remove surface dirt. Use the “shower” or “cone” setting on the nozzle for any paint areas, but don’t be afraid to use a full stream or even a pressure washer for messier wheels and tires (here’s looking at you Jeep owners).
- Use a wheel-cleaning solution created specifically for these dirty areas of the vehicle, preferably a nonacid solution that will not damage the paint or Plasti-Dip of your wheels. There are many spray-on products available that can be applied, sit briefly, agitate the wheel and tire surfaces, and then be hosed off.
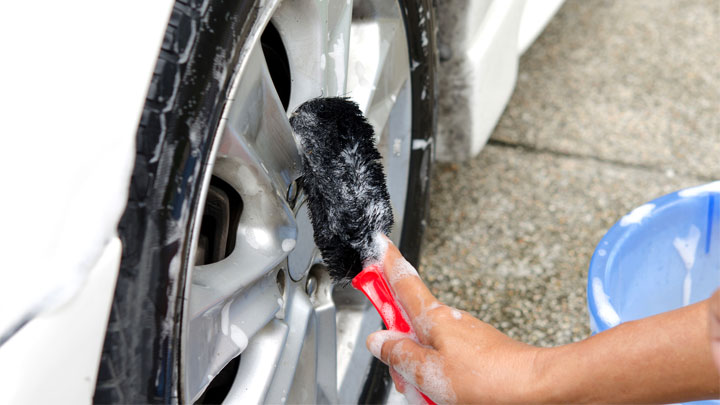
- You’ll want to work on one wheel at a time. After spraying on the wheel cleaner, you’ll want to let it sit for a couple minutes before doing some scrubbing. Most likely, you’ll want to use a wheel brush (with soft bristles that will not scratch) or a dedicated sponge or wash mitt. Don’t even think about using the same wash mitt for both the wheels and paint!
- After scrubbing, thoroughly rinse the tire and wheel using a strong water stream. Repeat the process for each wheel.
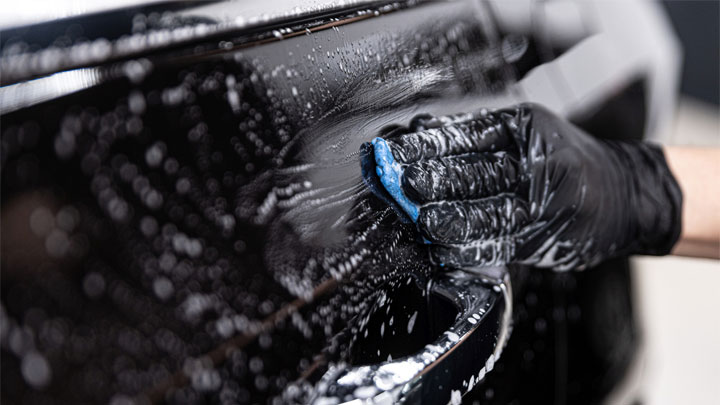
Step #3 – Wash Paint, Glass, and Trim
If there is one project you can take on to keep the exterior finish of your car looking great, it’s to wash your vehicle regularly. Of course, the other detailing steps will make it shine even more, but a good wash will remove basic contaminants from your car’s exterior and make future washes and detailing easier.
When you have dirt, dead bugs, bird droppings, road materials and other gunk trapped on your car’s exterior, these contaminants can damage your finish.
Most auto detailing experts recommend that you wash your car at least once a week, but a better rule of thumb is that you should wash off any obvious problems as soon as you see them to avoid damage and expensive repairs.
Local Car Washes
While you can just take your car to a local car wash, taking the time to go through this process yourself will lead to better results. Just keep in mind that cutting corners, such as using a dirty sponge or a paper towel, can lead to scratches in your car’s paint.
If you must, it’s ok to use a full-serve car wash every now and then especially if you live in rainy or snowy climates. Try to avoid the car washes that are run by gas stations since they’re not cleaned and maintained as well as dedicated car wash businesses.
Keep in mind that it’s just not possible to clean every nook and cranny of your vehicle’s exterior in full service wash. Skip any of the worthless add-ons such as polish/wax, undersealant, deluxe wheel cleaning, etc.
How to Wash Your Car
Don’t try to wash your car immediately after driving or in the middle of a hot day. Instead, wait until the surface is cool and less likely to dry too quickly and develop water spots.
I prefer washing a car in the morning or early evening. If you plan on following with claying and waxing, start in the morning to make sure you have good lighting until you’re done.
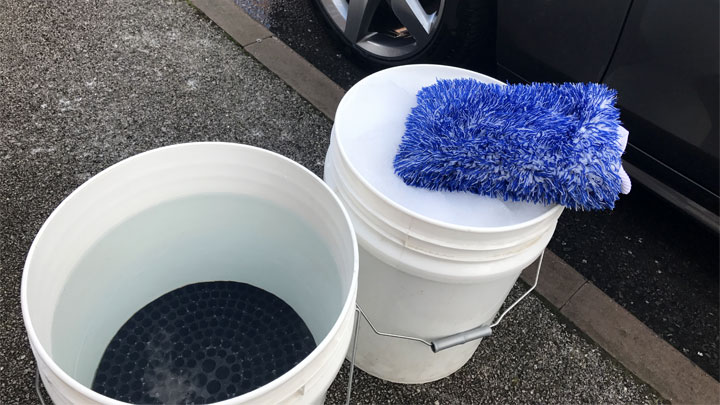
- Set up a two-bucket system: one with the car wash soap and water and the other with plain water.
- Thoroughly rinse your vehicle’s surface to remove any loose dirt, grime, and bird droppings.
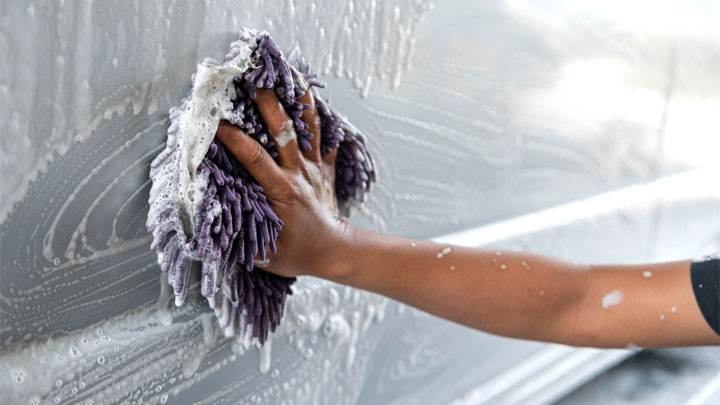
- Dip your wash mitt into the soapy water, and starting at the top of your car, apply it generously to the car’s exterior in sections (ie: roof, hood, driver’s side, etc.). You’ll want to frequently rinse out the mitt in the 2nd bucket and load up with more sudsy water in the 1st bucket.
- Once a section is done, you’ll want to rinse off all the soap before starting on the next section. Again, work your way from top to bottom since the bottom is usually the dirtiest part and you want to lessen your chances of trapping that dirt in your wash mitt and using it to scratch the upper sections of your vehicle.
- It takes more time with the two-bucket system, but rinsing off the grime before you return the sponge to the soap keeps the soap bucket clean and prevents you from rubbing dirt back onto your car’s exterior.
- Once you’ve washed and rinsed the last section of your vehicle, use a clean microfiber towel to completely dry all surface areas. The microfiber is gentle on the paint and very absorbent. Again, start at the top of the vehicle and work your way down.
Step #4 – Clay Bar
Auto detailing clay is an engineered resin that can aid in removing surface contaminants. Because it’s safe and nonabrasive when used correctly, claying your vehicle once or twice a year is one of the best things you can do for your car’s exterior.
The most important rule when using a clay bar is that the surface must be properly lubricated. Clay bars are usually sold as kits these days and a bottle of spray lubricant is included.
- To start, make sure your car is in a shaded area.
- Take a small piece of the clay bar (I like to divide a new bar into 3-4 pieces) and flatten it between your hands. This makes it easier to work with and since you need to throw away the clay if it’s dropped on the ground, you won’t waste an entire bar if that happens.
- Working in small 2 x 2 foot sections, spray the lubricant on the car’s exterior. Using very light pressure, rub the clay bar along the surface in a straight line back and forth. Doing so will allow the clay to pick up direct and contaminants embedded in the car’s paint. Add more lubricant if you feel the clay “catching”. When you can glide the bar freely against the exterior, that section is clean.
- After each section, take the clay bar and slightly knead it so you have a clean surface to work with. Keep in mind that claying will actually leave tiny holes in the paint where the contaminants have been removed. Therefore, you must always follow claying with waxing to protect the exterior.
- Don’t forget to clay the windows! Sounds silly but works great.
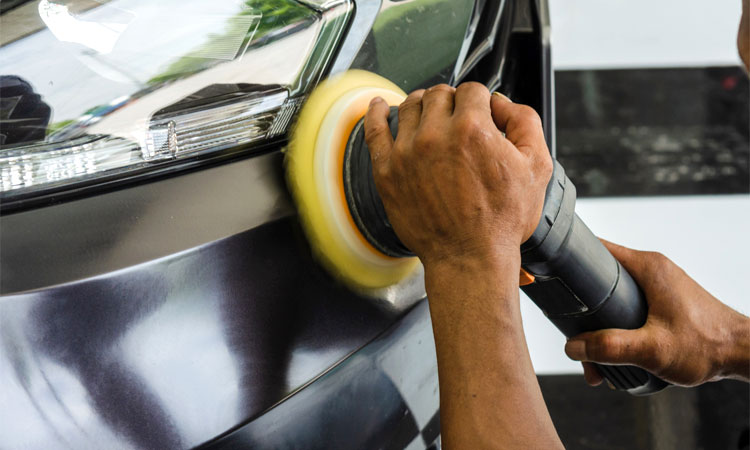
Step #5 – Polish
IMPORTANT: If you have a car wrap, do not attempt to use a polisher unless you are absolutely sure the compound is wrap-safe and proper technique is being used.
If your vehicle has swirl marks, light scratches, stains from bird droppings, or the paint is oxidized or dull looking, washing, claying, or waxing will not fix this.
You’re going to need to get a bit more aggressive. While professionals will use a power car polisher or buffer to get this done quickly, it’s not something I would recommend without at least some experience.
You can easily burn right through the layer of paint, especially on corners and edges where the paint layer is the thinnest.
Polishing by hand is physically the hardest part of detailing but I recommend that over using a power tool if you’re just starting out. I personally still polish some areas by hand since it just provides more control over pressure. But a car buffer will of course be faster. (See “How to Use a Car Buffer“)
There are various types of polishes, compounds, and glazes. Vehicles with only very minor scratches or swirl marks only need a very mild polish. Those with more noticeable scratches or oxidization will require a more aggressive compound. See section 1 above for the products I recommend.
- Similar to claying, you’ll be working in small 2 x 2 foot sections.
- Take a clean applicator pad and apply about a quarter-sized amount of polish to the center of the pad.
- Using a firm amount of pressure, apply the polish to the car’s exterior either in a straight back and forth motion where you change the angle of the motion halfway through.
- Once the section dries to a haze (should only take a couple minutes), take a clean microfiber towel and buff off the remaining polish on the section. Turn over the towel frequently so you don’t just spread around the dried polish.
- If you still see scratches but can’t feel them, repeat polishing that section if you wish. Otherwise, start on the next section.
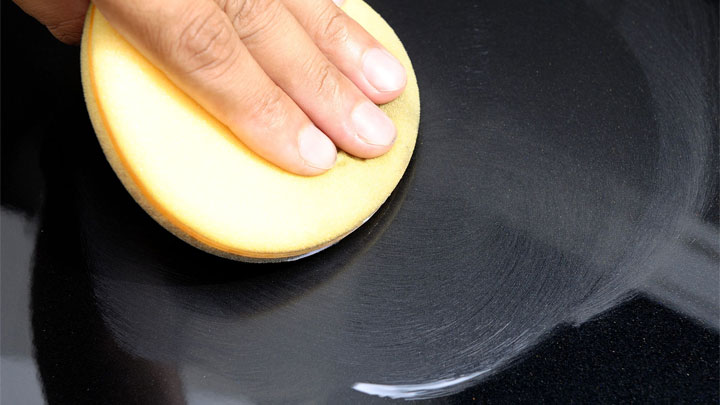
Step #6 – Wax
So now you’ve cleaned the dirt off the surface of your car (wash), removed contaminants that were embedded in your paint (clay), and smoothed out the paint (polish). The last step is to protect the surface of your car. A car wax will do just.
Think of wax as a sacrificial layer on top of the clear coat. For instance, bird droppings contain acid which can be corrosive enough to cause permanent etching and staining on the clear coat or even the paint layer. With a layer of wax to go through, it’s much less likely for any damage to be done.
Same goes for dirt that’s on your car. When you rub it to clean, the dirt which is essentially super tiny rocks, can easily scratch the clear coat or paint surface.
Again, with a wax layer, it’s there as an extra layer of protection. You’ll also notice that after waxing, your vehicle will be much easier to wash for up to a few months.
I prefer to wax my car a couple times a year. Some car enthusiasts I know do it four times each year. The process is very similar to polishing although much easier since you’re simply applying it to the surface instead of using it as an abrasive.
Here’s how to do it…
- Take a new applicator pad and put a small amount of wax in the middle (a little goes a long way).
- Working in about a 2 x 4 foot section (I like to start at the top), apply the wax using very light pressure in a back and forth motion and change the angle about half way through. A circular motion a la Karate Kid “wax on, wax off” style is not recommended for either polishing or waxing. It’s much more likely to get noticeable swirl marks this way.
- Once the wax is applied, it needs to dry to a haze, after which you can remove the residue by buffing (some waxes don’t require it to haze so read the manufacturer’s instructions). I prefer to apply wax to a section and while it’s drying, wax another section.
- Once the first section has hazed over, take a clean microfiber towel and buff off the residue surface wax until the surface is smooth and shiny. You’ll want to frequently be flipping the towel over so you’re not simply rubbing the wax residue back on.
- Continue waxing the remaining sections of the car including the windows, mirrors, headlights, wheels, and even your license plates. This just makes everything easier to wash in the future and the wax acts as a natural water repellent working even better than a product like RainX.
Keeping your car looking its best is easy with these steps to properly detail your car’s exterior. Not only will you save money by not taking it to a professional detailer, you’ll also get this amazing sense of accomplishment by doing it yourself.

He’s known for his attention to detail and problem-solving skills and enjoys coming up with out-of-the box solutions when the situation requires it.
When he's not troubleshooting customers' cars, you'll most likely find him working on his current project ('96 Bronco) or cooking Italian food for his family.
- Replace the Engine or Replace the Car? (11 Factors to Consider) - Apr 11, 2024
- Plastic Piece Dragging Under Your Car? (What It Is and What To Do) - Mar 21, 2024
- Timing Belt vs Timing Chain (What’s the Difference?) - Feb 27, 2024
Doing so will almost guarantee you scratching your paint. Even if it doesn't happen the first time you do it, it will at some future visit.