P0411 Code (Symptoms, Causes, and How to Fix)
Strict emissions laws of the 1970s and 80s compelled development of smog reduction systems. These complex devices curb exhaust pollutants, but undergo failures over time that trigger check engine lights.
One prevailing emissions code is P0411, a secondary air injection problem. Read on to learn what this code means, what caused it, and what you need to do to fix it.

What Does Code P0411 Mean?
Diagnostic Fault Code P0411 is indicative of a general lack of flow from a vehicle’s secondary air injection circuit. In turn, this lack of airflow is registered by the affected vehicle’s O2 sensors and is recorded by the PCM/ECM as a diagnostic fault.
However, to fully understand the scope of DTC P0411, one must first familiarize themselves with the principles of secondary air injection.
During engine warm-up, today’s engines utilize a specialty air pump to direct additional airflow into a vehicle’s exhaust stream. The presence of this additional airflow effectively neutralizes noxious combustion byproducts, which would otherwise be expelled into the atmosphere. This additional airflow is monitored by a vehicle’s oxygen sensors and is relayed to the vehicle’s ECM/PCM.
Also contained within the secondary air injection circuit are a host of other vital components, including the air solenoid, check valve, and assorted vacuum hoses. A problem with any of these components can lead to a secondary air injection circuit failure.
In the case of DTC P0411, a vehicle’s oxygen sensors have not observed a lean condition as expected, in correspondence with air pump engagement. In turn, the ECM/PCM records this condition as a fault, storing DTC P0411 as a result.
Related: DTC P0410
Symptoms of Code P0411

Diagnostic trouble code P0411 is often accompanied by a number of symptoms of varying severity. While not all of these symptoms are present in every case, they are prevalent enough to warrant understanding by the average motorist.
The following are several of the most prominent symptoms associated with DTC P0411.
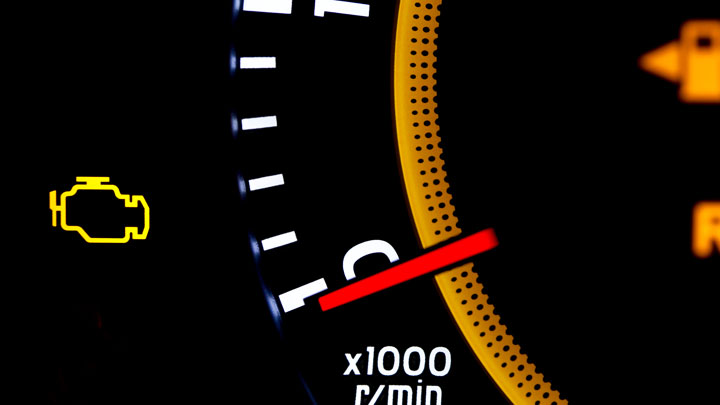
- Illumination of the check engine light
- Rich engine operation
- Excessive noise from drive/accessory belt
- Backfiring under substantial load
- Rough or erratic engine operation
Causes of Code P0411
Diagnostic trouble code P0411 can be prompted by a number of underlying issues, each of which differs in severity. Understanding each of the potential causes of DTC P0411 often proves valuable when attempting to remedy the issue at hand.
The following are the most common causes of diagnostic trouble code P0411.
- Damaged or structurally compromised exhaust components
- Faulty secondary AIR pump check valve
- Plugged AIR pump intake
- Inoperable AIR pump clutch
Is Code P0411 Serious?

Diagnostic trouble code P0411 is generally considered to be quite serious in nature. This is due to the fact that DTC P0411 is often associated with a host of drivability related symptoms, such as backfiring, erratic idling, and hesitation under load. Therefore, it is best to give DTC P0411 your full attention, without fail or delay.
On a side note, the presence of an active P0411 diagnostic trouble code can also cause a vehicle to fail its annual smog test, in states or counties where such testing is mandated. This can prove quite problematic, as a satisfactory test is often required to relicense a vehicle under certain circumstances.
In any event, the root cause of diagnostic trouble code P0411 should be diagnosed and remedied at the first available opportunity. Doing so prevents further problems from arising in the future. If you do not feel comfortable making such repairs yourself, make an appointment with a trusted service center as soon as possible.
How to Fix Code P0411

The following steps can be followed to assist in diagnosing and repairing the root cause of your vehicle’s P0411 diagnostic trouble code. As always, before attempting any such repairs, it is a good idea to locate factory-specific service literature for your particular model of vehicle.
#1 – Check For Additional DTCs
Before beginning the diagnostic process, be sure to check for the presence of additional diagnostic trouble codes. Any faults that are found should be thoroughly diagnosed and repaired before moving forward.
#2 – Command AIR Pump Function
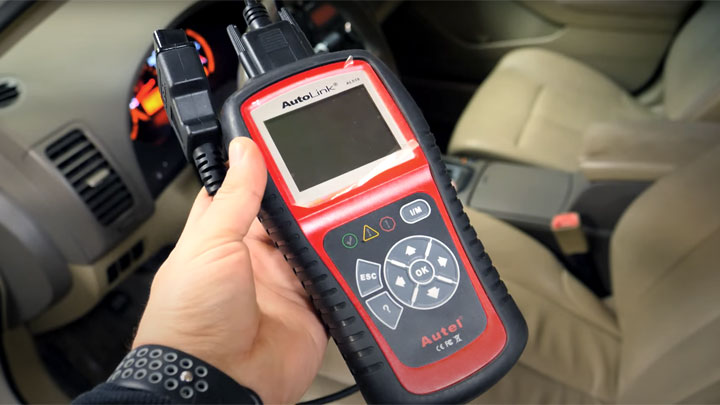
Begin by commanding the AIR pump into action with the use of a bi-directional scan tool. A lack of response to this command suggests a control circuit issue.
#3 – Check Pump Relay
If your vehicle’s AIR pump did not respond to input during step #2, carefully inspect the pump’s control relay for signs of damage or overheating. Replace this relay if any defects become apparent during inspection.
#4 – Verify Relay Inputs/Outputs
Next, with your vehicle’s ignition in the on position, check for the presence of both 12v power and ground inputs at the above mentioned relay. If these inputs are not present, check all circuit fuses, repair any compromised wiring, and retest.
On the contrary, if all relay inputs are present, verify that the affected relay is functioning as intended and that both power and ground are being delivered to the vehicle’s AIR pump. Proper power delivery indicates that the AIR pump itself is faulty.
#5 – Verify Presence Of Proper Vacuum
If the system’s AIR pump can be commanded on with the use of a bi-directional scan tool, proper vacuum delivery to the cutoff valve should be verified. If no vacuum is present, carefully inspect the system’s vacuum solenoid and accompanying vacuum lines.
If vacuum is present, cut all power to the circuit, and use a vacuum pump to verify that the cutoff valve opens and holds vacuum as specified. If the vacuum is not sustained, replace the system’s cutoff valve.
#6 – Inspect System Check Valve
If the system’s cutoff valve proves functional, carefully inspect the AIR circuit’s check valve for obvious defects, and replace it if necessary.
- P0480 Code (Symptoms, Causes, and How to Fix) - Apr 19, 2024
- Car Temperature Gauge Stopped Working? (Here’s Why) - Apr 15, 2024
- Ignition Coil vs Coil Pack (What’s the Difference?) - Apr 8, 2024
