P0157 Code (Symptoms, Causes, and How to Fix)
Today’s computer-controlled engines rely on oxygen sensor feedback to optimize combustion. DTC P0157 indicates an issue with the power supply to a specific O2 sensor. This robs the PCM of vital data, hampering performance and economy.
This article looks at the common causes of a P0157 code, how serious it is, and how to correctly troubleshoot and fix the issue.

See Also: Bank 1 vs Bank 2 Oxygen Sensors
What Does Code P0157 Mean?
Diagnostic trouble code P0157 is indicative of a low voltage condition within a vehicle’s bank 2, sensor 2 oxygen sensor circuit. This effectively limits the amount of feedback received by a vehicle’s ECM/PCM regarding bank 2 combustion efficiency.
However, to better understand this principle, one must first familiarize themselves with oxygen sensor operation.
Today’s vehicles monitor a number of parameters at any one given time, via a sophisticated network of modules and sensors. Sensors within this network provide all of the necessary feedback for use by each of a vehicle’s individual modules.
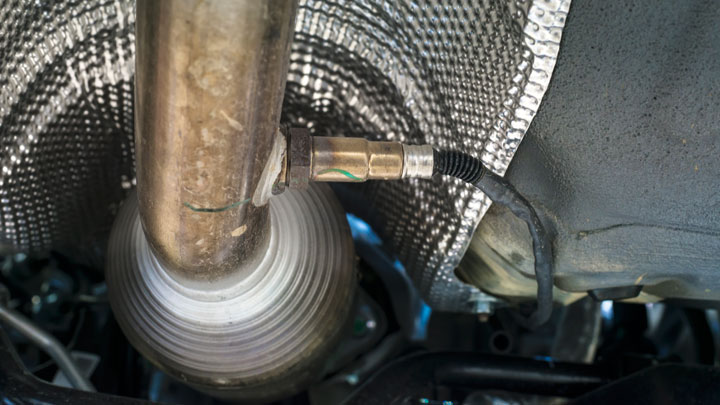
One such component of value is the oxygen sensor. Sensors of this type differentiate between lean/rich conditions on a respective engine bank, allowing the ECM/PCM to establish appropriate fuel trims.
In the case of diagnostic fault code P0157, an engine’s management software has determined that the voltage being returned from the affected O2 sensor (bank 2, sensor 2) is below that which is expected. This, in turn, deprives the ECM/PCM of necessary feedback for efficient system operation.
Related DTCs: P0136, P0137, P0138, P0151, P0153, P0154, P0155, P0158
Symptoms of Code P0157

In general, diagnostic trouble code is often accompanied by a number of additional symptoms, several of which can be relatively aggravating to contend with. Recognizing these symptoms can assist in identifying the issue in question.
The following are several common symptoms associated with diagnostic fault code P0157.
- Illumination of check engine light
- Rough idle
- Erratic performance
- Lack of power under acceleration
- Hesitation
- Excess fuel consumption
- Engine running lean or rich
Causes of Code P0157

Diagnostic fault code P0157 can be caused by some underlying issues, some of which are more severe in nature than others. Understanding the potential sources of this code can prove valuable when attempting to remedy the situation at hand.
The following are several of the most common causes of DTC P0157.
- Faulty Oxygen Sensor
- Shorted voltage supply circuit
- Minimal fuel pressure
- Exhaust leaks
- Compromised circuit ground
- Lean operating condition
- Compromised PCM
Is Code P0157 Serious?
Diagnostic trouble code P0157 is generally considered to be moderately serious in nature. This stems from the fact that this particular code is often accompanied by a number of drivability-related issues.
As a result, vehicle performance can be compromised to a noticeable degree. Additionally, excess fuel introduced by a vehicle’s PCM in response to its perception of a lean condition can cause engine damage with time.
It is also worth mentioning that a code of this type will almost always lead to higher emissions output. Because of this, one is highly unlikely to pass regular government-mandated emissions testing, where required. This can prove both costly, and aggravating to contend with.
In any event, the root cause of diagnostic trouble code P0157 should be carefully diagnosed and remedied as soon as possible. This effectively limits the chance of unnecessary engine damage from taking place.
If you do not feel comfortable tackling such repairs on your own, make an appointment with a trusted automotive service center in your area, as soon as possible.
How to Fix Code P0157

The following steps can be followed to assist you in diagnosing and remedying the root cause of your vehicle’s P0157 trouble code. As always, you are advised to consult factory-specific service literature for your particular vehicle, before attempting any such repairs.
#1 – Check For Additional DTCs
Before beginning the diagnostic process, carefully check for the presence of additional diagnostic fault codes with the use of a quality scan tool. Any such codes should be thoroughly diagnosed and remedied before proceeding.
#2 – Perform Visual Inspection
You will begin the diagnostic process by carefully inspecting the offending O2 sensor, as well as all related wiring and connectors. Any damage should be repaired before proceeding with diagnostic efforts. Additionally, damage to the O2 sensor itself will require immeasurable replacement.
#3 – Inspect For Exhaust Leaks
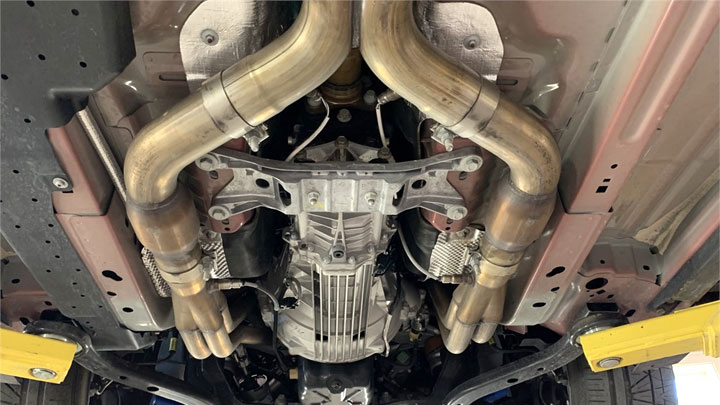
Next, you will need to check for any exhaust leaks upstream of the specified oxygen sensor. In many cases, soot trailing will reveal the source of such leaks. However, the use of a professional smoke machine might also be necessary.
#4 – Check Fuel Pressure At Rail
Using the appropriate test gauge, you will now check for appropriate fuel pressures at your engine’s fuel rail. Such figures should mirror that which is specified by your vehicle’s manufacturer.
If low fuel pressure is suspected, diagnose this issue before proceeding.
#5 – Check Voltage/Ground At Sensor
Next, with your vehicle’s ignition in the “ON” position, check for the presence of power and ground at the plug for the affected oxygen sensor. These values should correspond to those specified by your vehicle’s manufacturer.
If the appropriate inputs are not present, check for wiring or ECM/PCM related issues. On the other hand, the presence of such inputs would cast doubt upon the condition of the O2 sensor itself.
- P0480 Code (Symptoms, Causes, and How to Fix) - Apr 19, 2024
- Car Temperature Gauge Stopped Working? (Here’s Why) - Apr 15, 2024
- Ignition Coil vs Coil Pack (What’s the Difference?) - Apr 8, 2024
